So you’re interested in fossicking in Tasmania? What do you need to get started?
The main things you’re going to need to know about can be broken down approximately into tools, areas, and permissions. Today I’ll cover tools in general, and in the next two posts I’ll go over areas and permissions, which are somewhat interlinked.
-
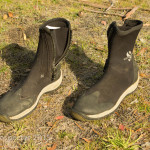
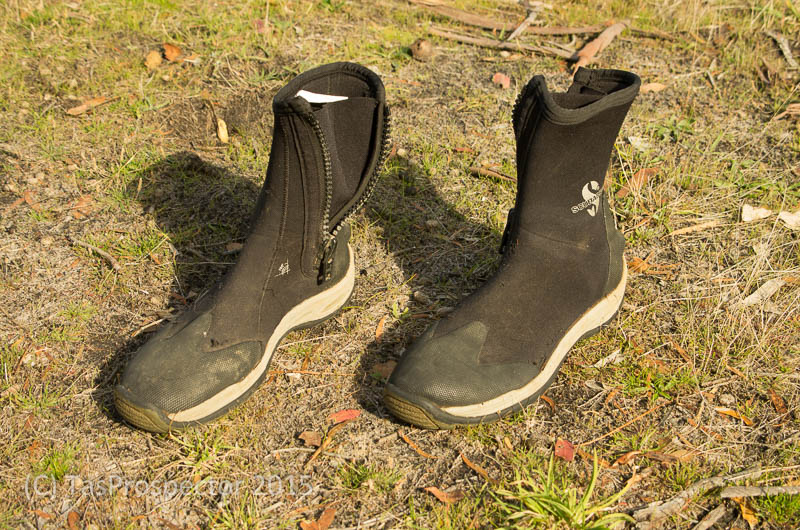
- Diving boots
-
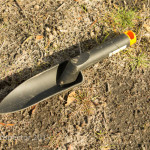
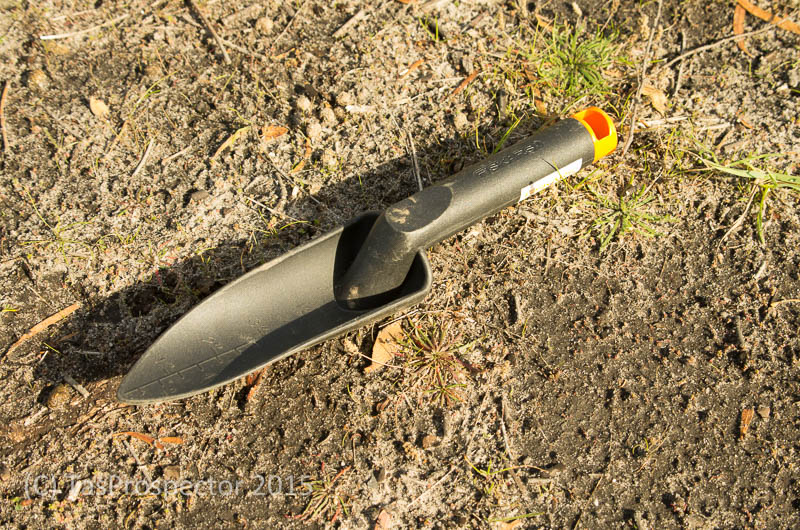
- Plastic trowel
-
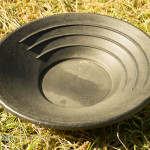
- Panning dish.

The basic tools you use will depend on what you’re looking for. If you want to look for agates, jasper and petrified wood for tumbling, for example, you might need very little. Some beaches around the state, such as in Weymouth, Penguin, and Lymington, have pebbles scattered around the beach, and all you’d need is a low tide, a keen eye, and a bucket.
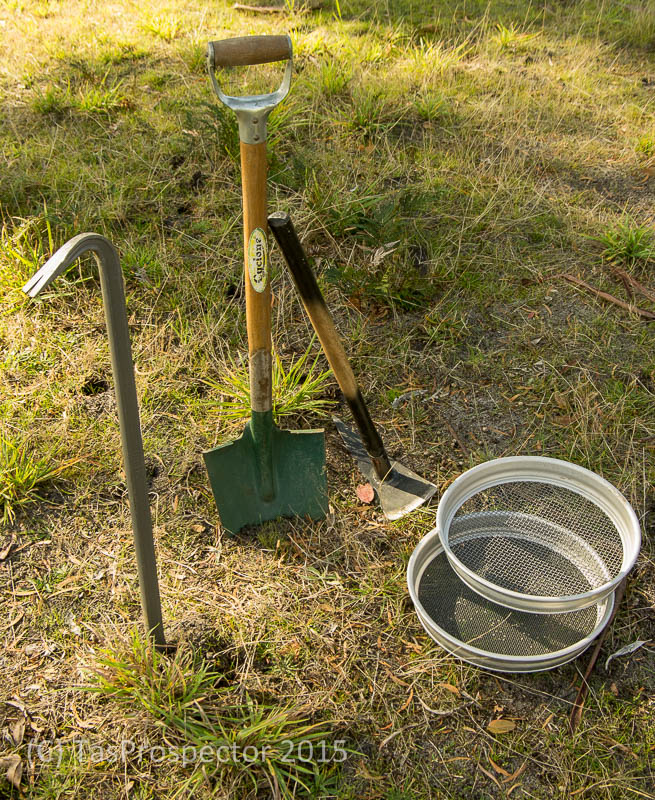
Digging for lapidary materials
If you’re going to be digging for material, for example if you’re looking for agate or fern at Lune River, you’ll need a good, sturdy spade or shovel (I prefer a long-handle post-hole shovel), and a couple of buckets. It helps to have some water in a bucket if the weather’s dry, so you can wash the stones and see whether they’re anything worth keeping. A soil probe with a handle is optional, but handy to test the depth of the gravel layer, to see if you can be bothered digging at a particular location. I also found an old gardening fork with the outer tines cut off, and only 2 tines left, to be very helpful in breaking up heavy clay.
Sieving and panning
If you’re fossicking in creeks, such as for sapphires, topaz, zircons, tin or gold, you’ll still need a good shovel to dig with. In order to separate the gemstones or metal from the gravels, you’ll want some sieves and/or a panning dish. Common sizes of sieve are 1/4-inch (6 mm) and 1/8-inch (3 mm) mesh. I personally find a 1/2-inch (12 mm) sieve very useful to screen out the larger pebbles. Make sure you look through them first, though, before throwing them away, or you could be throwing away a larger than 1/2-inch sapphire (yes, they exist)! Other useful tools are: small scoops to clean out narrow crevices, and a crowbar to move rocks out of the way. When the water or the weather is cold, which for us is most of the year, you’ll need a wetsuit or some waders. It’s up to you which one you prefer, I prefer a wetsuit, but it’s not exactly fun to put it on wet the next day, if you’re out for more than a day trip. I also like to wear wetsuit boots and gloves to stay warm and comfortable. It’s amazing how un-fun a supposedly fun activity can become if you’re cold and miserable. And don’t forget somewhere to put your stones, I personally like to use a small tub, as opening and closing zip-lock bags with wet fingers or gloves can be difficult.
Gold
If you’re out looking for gold, a panning dish is your main tool in creeks, and a metal detector on dry land (also in creeks if it’s waterproof). In creeks a shovel and scoops, as well as perhaps a sturdy digging knife to scrape crevices is useful. The gold is about 6 times heavier than gravel and sand, so it usually works its way to the very bottom of the creek, and into any crevice. On dry ground, especially if metal detecting, a pick is very useful to loosen soil, and plastic scoops are great to locate your target, as they don’t set off the detector. A pouch worn around the waist is great to put in metallic rubbish (which you will find a lot of!).
The amount of money you spent on tools will totally depend on you. As of the time of writing, in 2015, plastic scoops are about AU$3, the price of a standard panning dish is AU$10-15, while conversely the top-of-the-range metal detectors will set you back over AU$10,000.
There are other tools that can come in useful, depending on what you’re looking for. We all develop our own way of doing things and settle on our favourite tools. Do you have a particularly useful tool that I haven’t mentioned?
Do you like the content at Apple Isle Prospector? Feel free to get in contact, leave a comment.